ADDING SPONSORS on the landing page
Fabl Tutorials - LATAM
Step 1. Log in into your Fabl account dashboard.

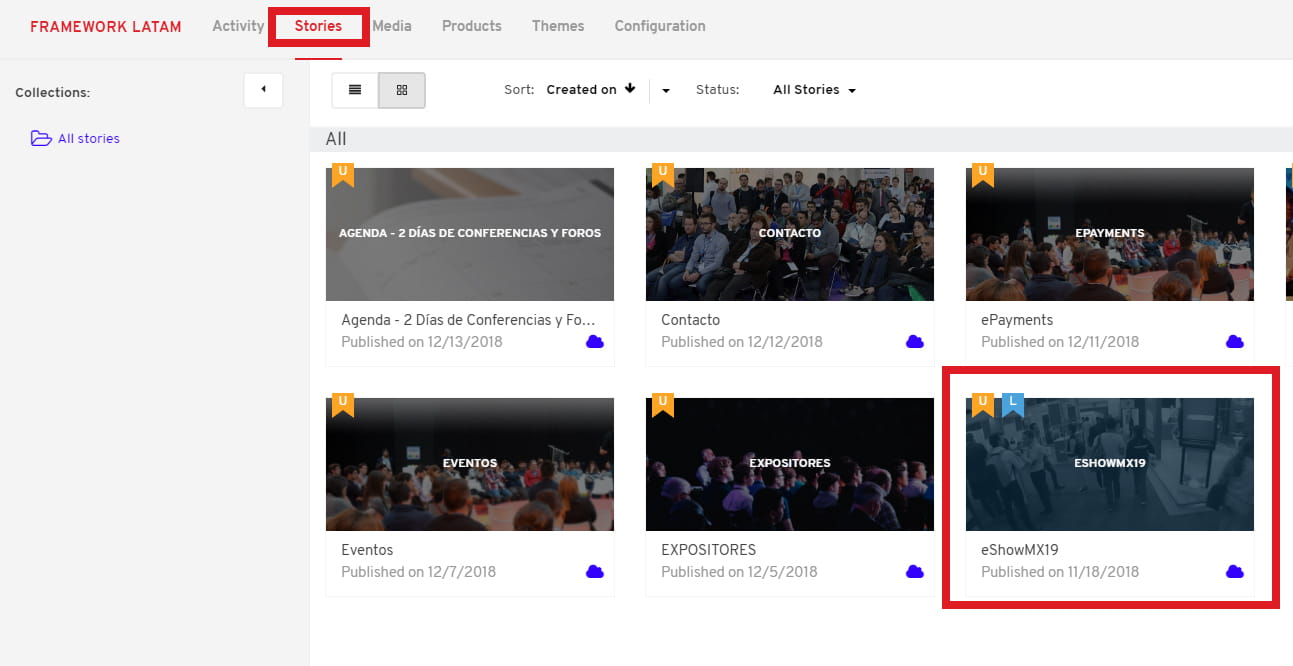
Step 2. Access the ESHOWMX19 story
Go to your “Stories” tab and click on the “ESHOWMX19” story. This will open the story in editor mode.
Step 3. Adding a new sponsor.
Scroll down to the section where you want to add a sponsor logo. Depending on the correct position of the next sponsor(column wise), open the drop-down menu of the last item within the correct column (1), then select “Duplicate” (2). This action will create a clone of the original image underneath it (3).

Once we have the clone created, open it’s corresponding drop-down menu and select “Replace Image” (4). This will open the Media Library where we will drag and drop our new sponsor’s logo. Once the image has been uploaded, select it with a simple left click (5).
Please make sure the images you are uploading are all the same size. We recommend that the images be 257px wide and 378px high.

Note: All logo images should be in .png format with transparent background to avoid situations like the one presented in the image below:

You will notice that the sponsors section is now updated with the new logo (Telcel in our example). In order to keep the changes, make sure you click on the bottom-left “Save” option (6). Once saved, you can view the updates in a new browser tab by selecting “View” (7).

Adding a new logo to the “OTROS EVENTOS” section.
The OTROS EVENTOS section is built using a inline html tags sequence. For each logo, the html line is composed of a “<a>” tag (1) which defines the forwardind link and a “<img src>” tag (2) which generates the logo image within the section.

If you wish to add another logo for this section, use the following code line:
<a href=“PASTE HERE THE CLICKTHRU LINK” target="_blank" ><img src=“PASTE HERE THE IMAGE URL FROM YOUR MEDIA LIBRARY” class=“otros-eventos-img”></a>